Working with contracts is all about getting to an agreement - i.e. getting your document signed. However, when building contracts with our editor, the signatures have not had a visual representation in the contract itself - only in the accompanying certificate. We decided to revamp this experience to give you full control over your contract creation and signing process.
Introducing the signature element
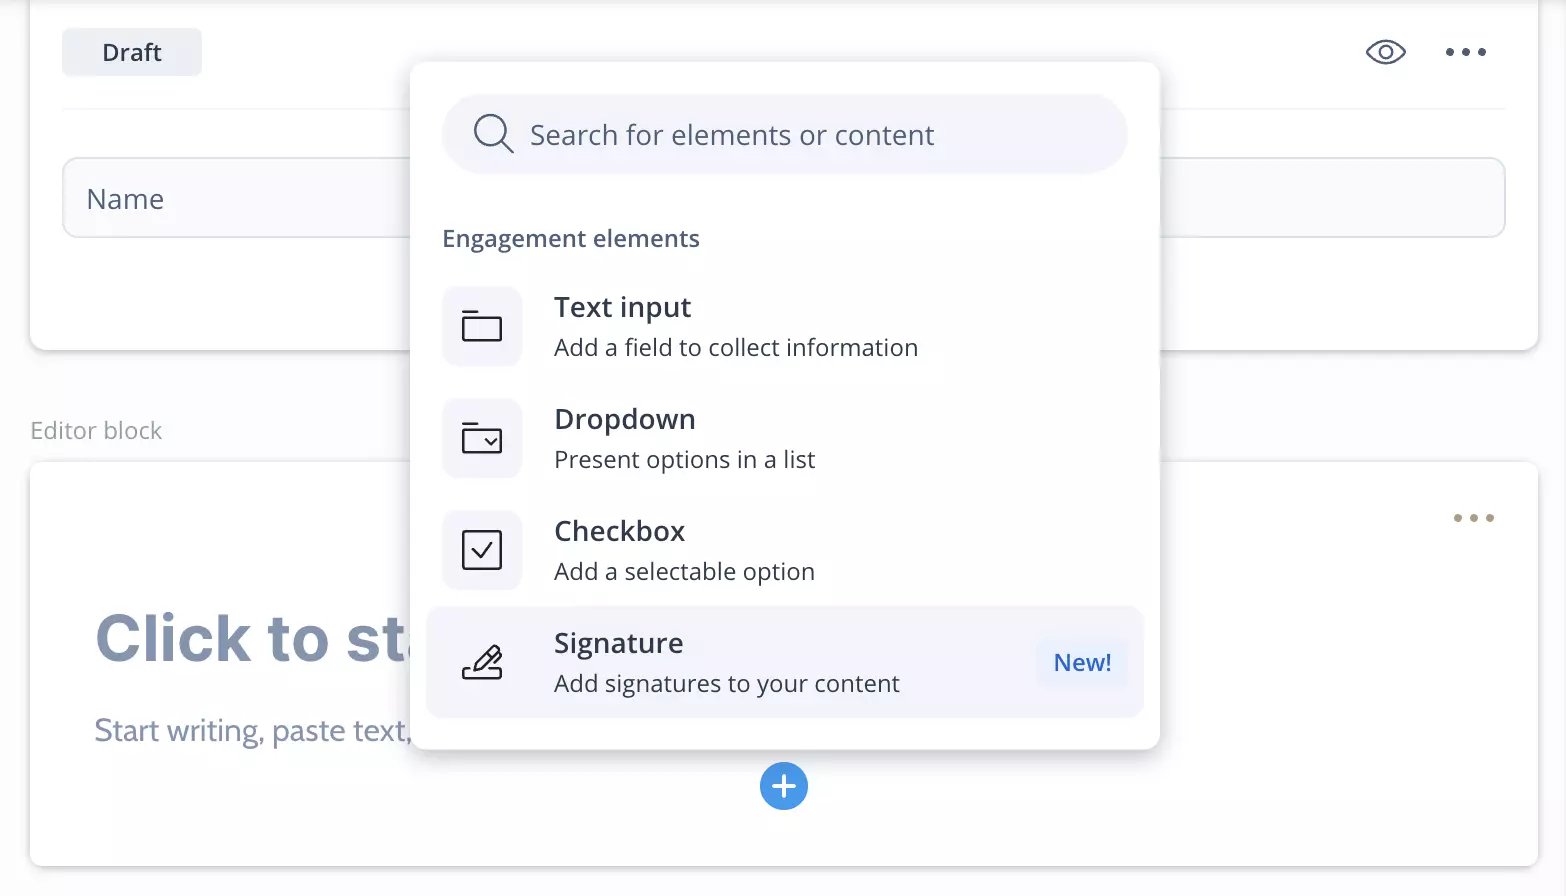
Just like adding other types of content using the Editor Blocks, you can now add a signature element wherever you want by clicking on the “+” sign within an Editor block:

- Need a signature on every page of a contract? No problem.
- Does a signing party need to see the signatures of other recipients before signing? Perfect, go ahead.
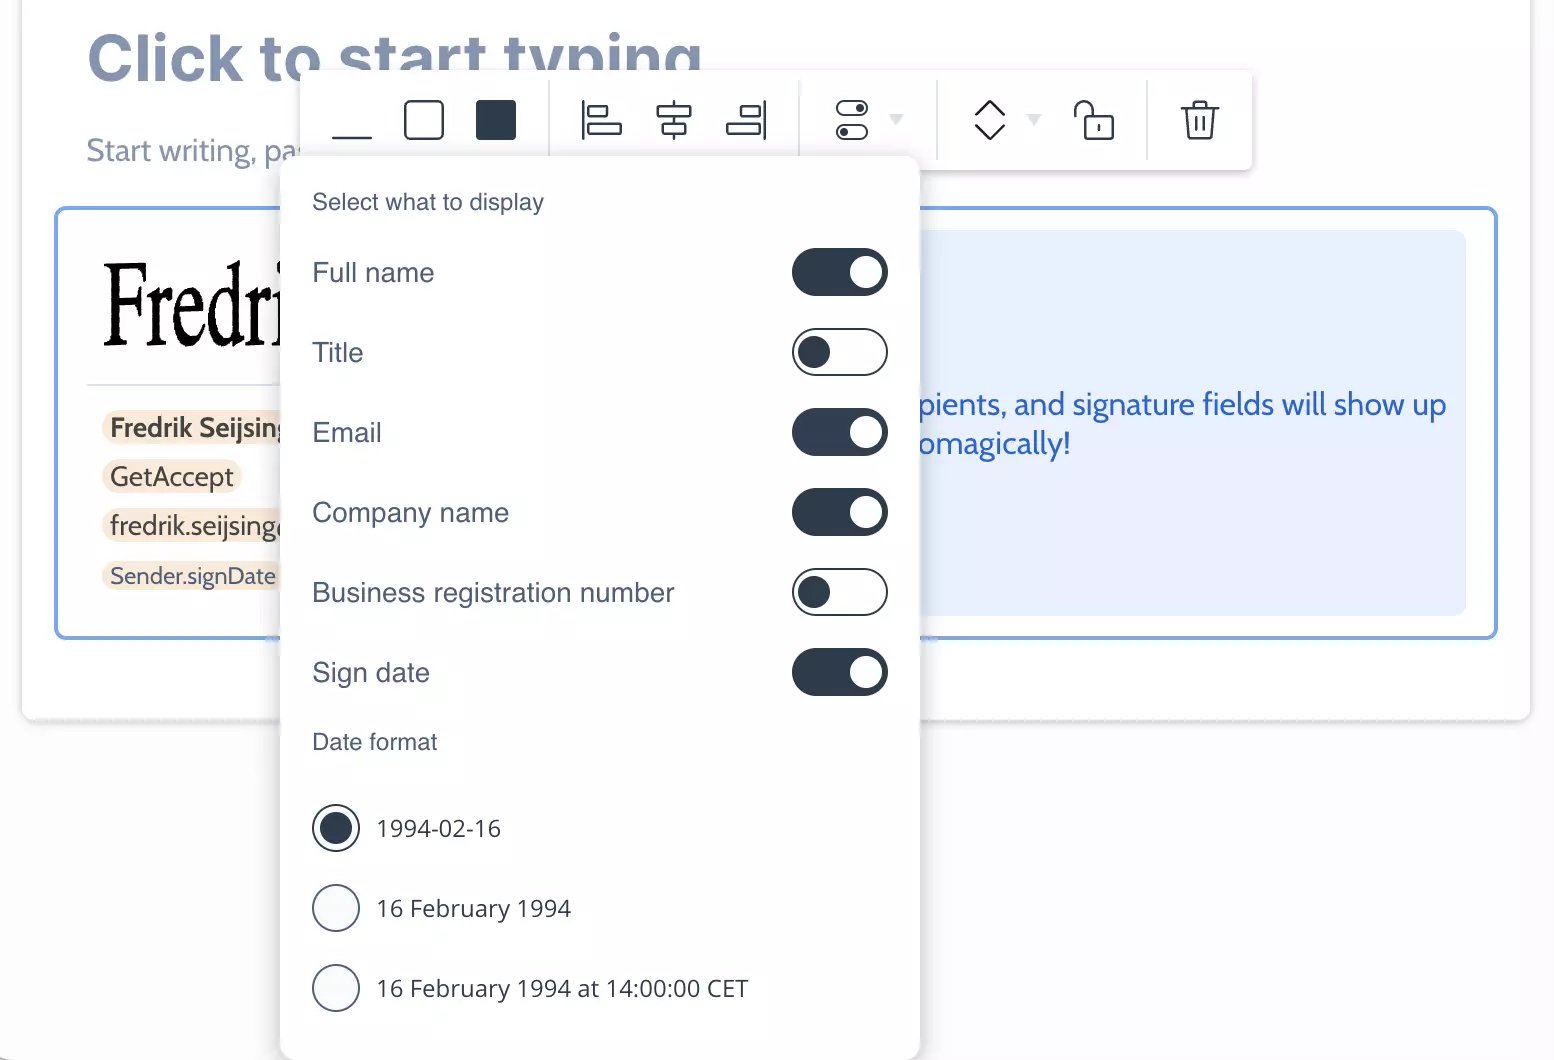
- Need to add peripheral information to go with the signatures? Just toggle to show the information you want.
By using the signature element and fully editor-based contracts, working with signatures just became easier and more efficient than ever before!
Flexibly select the signers’ info you want to display
When adding a signature element to your contract, it automatically populates placeholders for all signers of the document, together with peripheral information for each contact. Simply click the toggle button and select the information you want to go with the signature, like Title, Company Name or Sign date.

Collect multiple signatures faster
- For you, as a sender, your signature will automatically be populated in all instances when you send your contract.
- For your recipients, all they need to do is add their signature once. Once it’s done, simply click the other signature elements and their signature will be added automatically.
See this help article for more information on the signature element and how it works.
Any questions, thoughts or feedback?
We’d love to hear it! Get in touch by sending an email to marketing@getaccept.com.


